
Why You’ll Love This this Garlicky Filipino Chicken Adobo
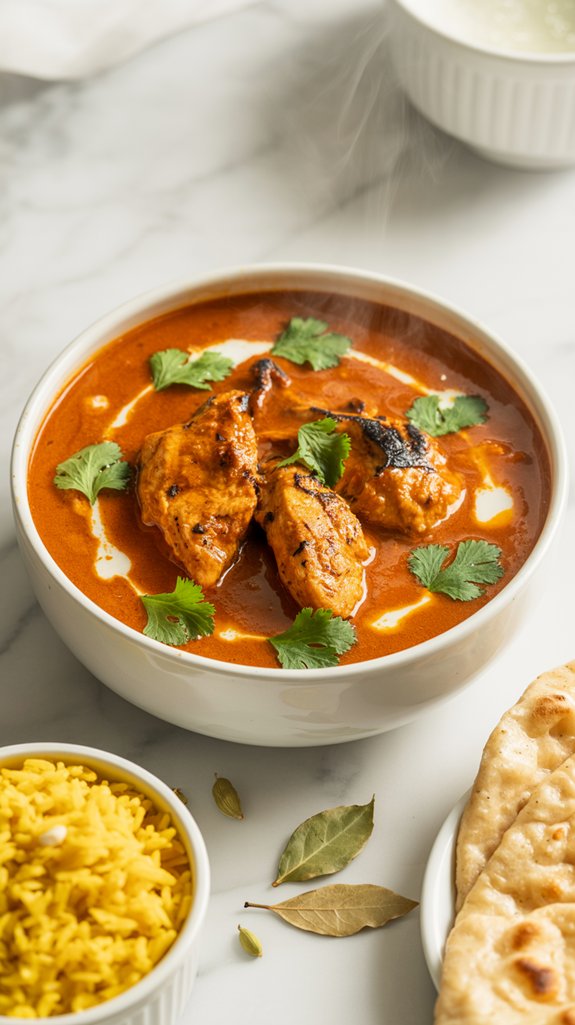
This Filipino chicken adobo is basically comfort food that gives you a warm hug, with tender chicken swimming in a tangy, salty sauce that’ll make you wonder why you ever bothered with bland weeknight dinners.
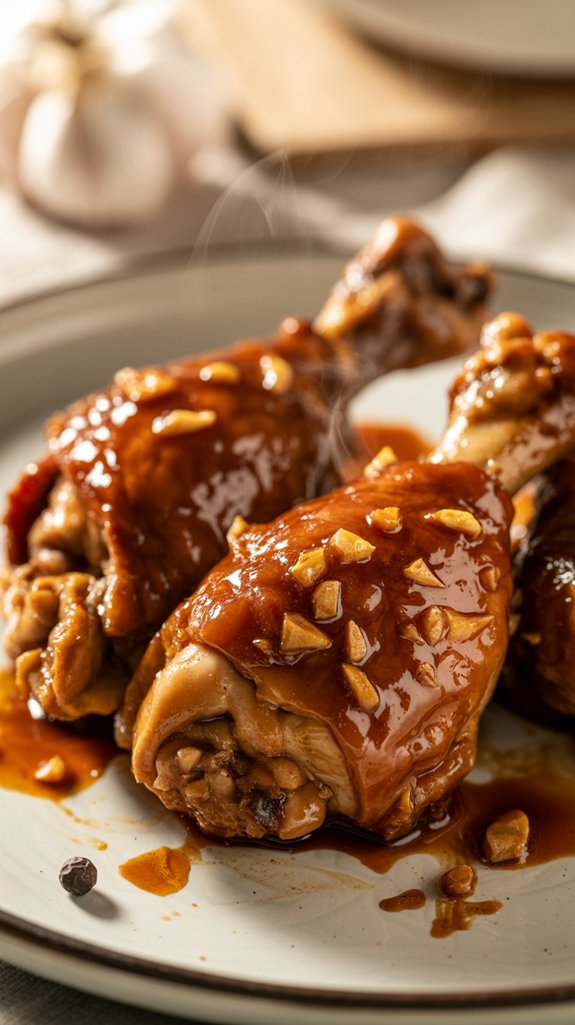
The garlic situation here is absolutely serious business – we’re talking a whole head of the stuff, chunky and golden, because apparently someone decided that subtlety was overrated.
You get this perfect balance of soy sauce and vinegar that creates this rich, complex flavor that’s somehow both familiar and exotic, plus it’s basically impossible to mess up, which is honestly a relief for those of us who sometimes burn water.
Ingredients List
Getting this Filipino chicken adobo on your table requires just a handful of simple ingredients that you probably already have lurking in your pantry, plus some fresh garlic that’s about to become the star of the show.
- 2 lbs chicken wings
- 1 head garlic, coarsely chopped
- 1/2 onion, coarsely chopped
- 1/4 cup soy sauce
- 1 tablespoon ground black pepper
- 2 cups water
- 1/2 cup vinegar (rice vinegar or white wine vinegar work best)
- 2 bay leaves
- 2 tablespoons cooking oil
- The beauty of this dish is that it’s surprisingly light on calories compared to other comfort foods, especially since you’re not drowning anything in heavy cream or butter
- That whole head of garlic isn’t just for show – garlic has some serious health benefits, including boosting your immune system
- Vinegar actually helps with digestion and can help regulate blood sugar, so you can feel slightly less guilty about going back for seconds
- The soy sauce does pack some sodium, so if you’re watching your salt intake, you might want to use a low-sodium version or just use a bit less
Step by Step Directions
This authentic Filipino chicken adobo transforms simple pantry staples into a deeply flavorful dish that’s been satisfying families for generations.
- Prepare the broth base: In a saucepan, combine vinegar, bay leaves, ground black pepper, soy sauce, chopped onion, and water. Cover and cook slowly for about 15 minutes to let all the flavors meld together.
- Heat the oil: While your broth is simmering, heat 2 tablespoons of cooking oil in a large, heavy-bottomed frying pan over medium heat.
- Brown the garlic: Peel and break the garlic cloves into chunks, then add them to the heated oil. Brown the garlic over medium-low heat for about 5 minutes until fragrant and golden.
- Brown the chicken: Add the chicken wings to the frying pan with the garlic and brown them over medium-high heat for about 5 minutes, turning to get all sides nicely colored.
- Combine and simmer: Pour the prepared broth into the frying pan with the chicken and garlic. Bring to a gentle simmer, then reduce heat and cook partly covered for about 30 minutes until the chicken is fully cooked and tender.
Keep it at a simmer – don’t let it come to a rolling boil.
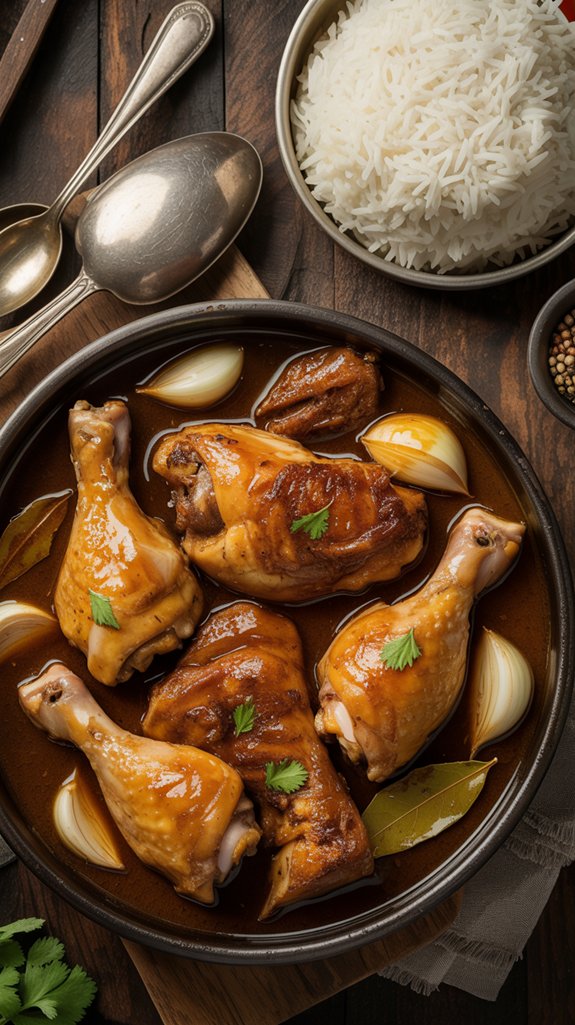
• Finish and serve: Remove the bay leaves before serving. Serve hot over steamed rice and pair with a cold beer rather than wine, as the bold flavors work better with beer.
For an authentic smoky flavor that elevates this traditional dish, consider using a premium BBQ smoker to add depth to your chicken before the braising process.
Substitutions and Variations
• Swap the protein: Pork shoulder or pork belly work beautifully here – just cut them into chunks and add maybe 10-15 extra minutes to the cooking time.
Beef chuck roast? Sure, but you’ll need closer to an hour of simmering to get it tender enough.
• Play with the vinegar: Rice vinegar gives you that mellow tang, while white wine vinegar brings more sharpness.
Apple cider vinegar adds a hint of sweetness that some people absolutely love, though purists might give you the side-eye.
• Adjust the soy sauce intensity: If you’re watching sodium or just prefer a lighter flavor, cut the soy sauce in half and add a tablespoon of brown sugar to balance things out.
Dark soy sauce instead of regular will give you deeper color and a slightly richer taste.
• Garlic lovers, rejoice: That one head of garlic is just a suggestion, really.
Two heads? Three? Who’s counting when you’re creating something this aromatic.
• Make it spicier: Toss in a few whole dried chilies with the bay leaves, or add a chopped jalapeño when you’re browning the garlic.
Your taste buds will thank you, even if your sinuses don’t.
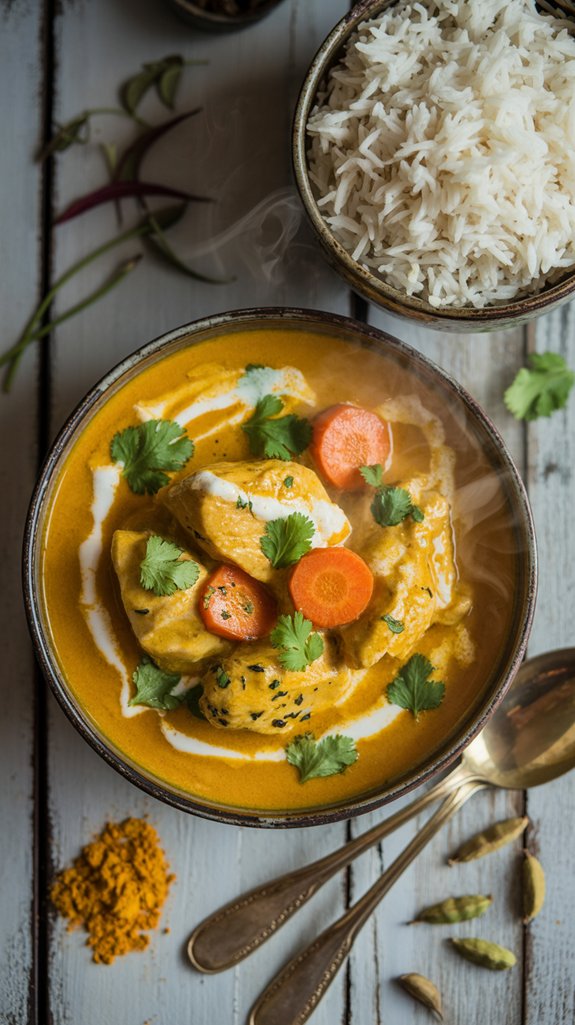
- Coconut milk variation: Some regions add a splash of coconut milk during the last 10 minutes of cooking for a creamier, slightly sweeter version that’s honestly pretty amazing.
- Whole chicken pieces: Thighs, drumsticks, or even a cut-up whole chicken work perfectly – just adjust your cooking time based on the size of your pieces.
Additional Things to Serve With This Dish
The recipe suggests serving this with beer instead of wine, and honestly, that’s solid advice when you’re dealing with flavors this bold.
- Steamed jasmine rice – This is the classic choice that soaks up all that gorgeous, garlicky sauce without competing for attention.
- Garlic fried rice – Because why not double down on the garlic situation and make your kitchen smell like heaven for the next three days.
- Simple sautéed vegetables – Bok choy, green beans, or broccoli work perfectly to cut through all that rich, salty goodness.
- Pickled vegetables – A quick cucumber salad or some pickled radishes will brighten up your plate and give your palate a little break.
- Corn on the cob – Sounds weird, but the sweetness pairs surprisingly well with the tangy, savory flavors.
- Fresh tomato slices – Just sprinkle them with a pinch of salt, and they’ll provide a cool, invigorating contrast.
- Lumpia or spring rolls – If you’re going full Filipino feast mode, these crispy little parcels make excellent partners.
- Cold beer or iced tea – The recipe wasn’t kidding about skipping the wine, trust me on this one.
Cooking Tips & Tricks (Chef’s Notes)
Here are some tricks that’ll save you from the common pitfalls that make people give up on adobo halfway through.
- Don’t rush the garlic browning – Those chunks need to get golden and fragrant, not burnt and bitter, so keep the heat at medium-low and resist the urge to crank it up.
- Pat your chicken completely dry – Wet chicken won’t brown properly, and you’ll end up with sad, pale pieces that look like they’ve been boiled from the start.
- Use a heavy-bottomed pan – Thin pans create hot spots that’ll burn your garlic while leaving other parts undercooked, which is just plain frustrating.
- Keep that simmer gentle – The recipe warns against boiling for good reason, because high heat will make your chicken tough and your sauce harsh.
- Taste and adjust the soy-to-vinegar ratio – Some soy sauces are saltier than others, so start with less and add more if needed rather than oversalting the whole pot.
- Let it rest for 10 minutes before serving – This gives all those flavors time to settle and marry together, plus it prevents you from burning your tongue on molten garlic sauce.
- Save some of that cooking liquid – It makes an incredible sauce for your rice, and you’ll be kicking yourself if you don’t have enough to go around.
- Remove bay leaves before serving – Nobody wants to bite down on a woody leaf when they’re expecting tender chicken.
Nutritional Facts
This hearty Filipino dish packs plenty of protein while keeping carbs relatively low, making it a satisfying meal that won’t weigh you down.
- Calories per serving: Approximately 320-350 calories (based on 4 servings)
- Protein powerhouse: Each serving delivers about 28-32 grams of protein from the chicken wings
- Low carb friendly: Only 6-8 grams of carbs per serving, mostly from onions and garlic
- Moderate fat content: 18-22 grams of fat, primarily from chicken skin and cooking oil
- High sodium: Contains 800-1000mg sodium per serving due to soy sauce (about 40% daily value)
- Vitamin boost: Garlic provides vitamin C, manganese, and selenium, while onions add vitamin B6
- Iron content: Chicken wings contribute about 8-10% of your daily iron needs
- Potassium source: Each serving provides roughly 300-400mg potassium from chicken and vegetables
- Zero sugar: The vinegar and vegetables contribute minimal natural sugars
- Gluten consideration: Contains gluten if using regular soy sauce (use tamari for gluten-free option)
Fun “Did You Know?”
Beyond its impressive nutritional profile, adobo holds fascinating secrets that’ll make you appreciate this beloved dish even more.
Did you know adobo’s name comes from Spanish “adobar,” meaning “to marinate”? However, Filipinos were already cooking this way before Spanish colonization using native vinegar and salt.
The dish actually preserves meat without refrigeration – that’s why it tastes better the next day!
Every Filipino family guards their secret adobo recipe, creating thousands of variations across the archipelago.
Curiously, you can safely leave adobo at room temperature for hours due to vinegar’s natural preservative properties.