Why You’ll Love This this Perfect Shake and Bake Chicken
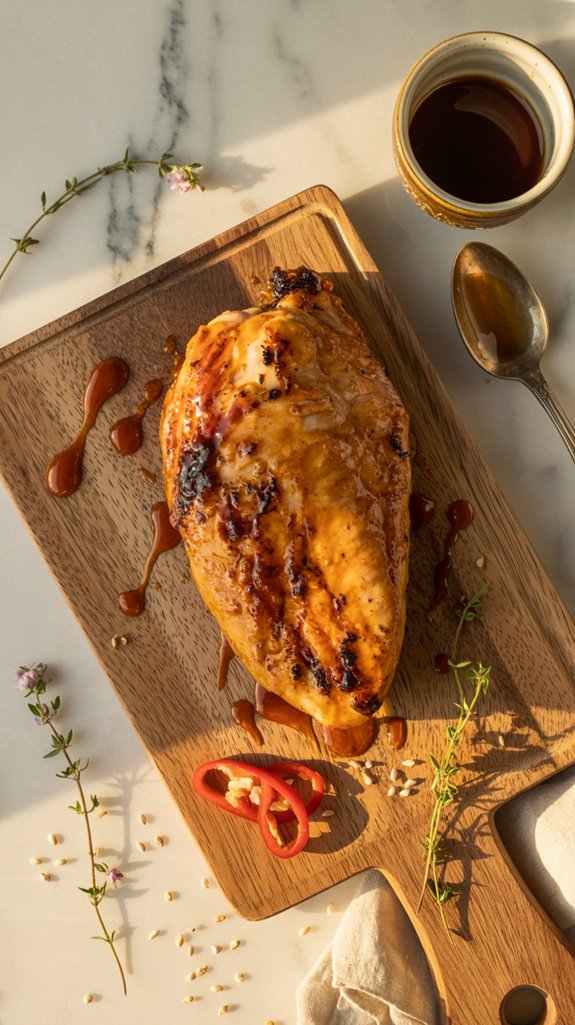
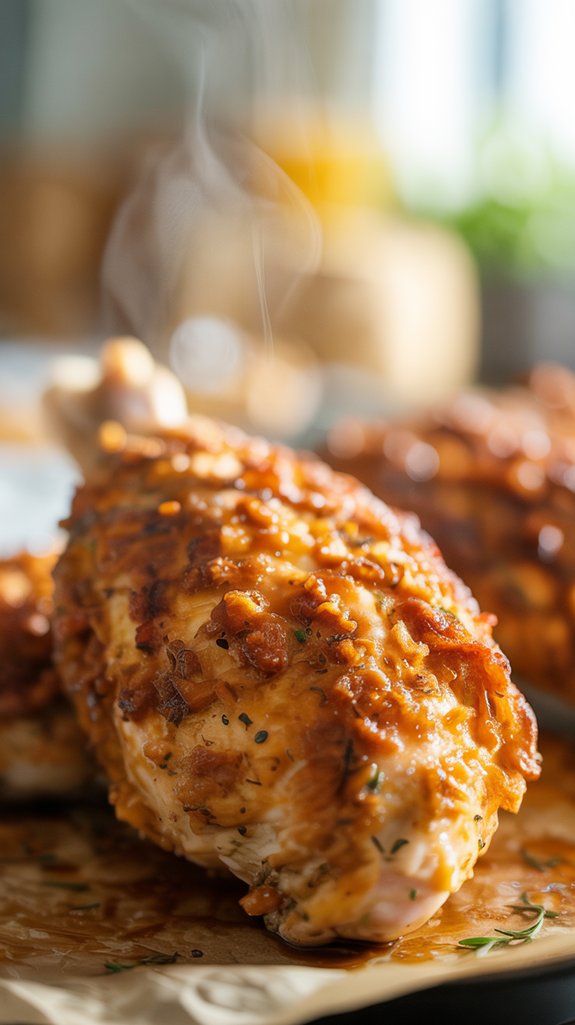
This shake and bake chicken recipe transforms ordinary chicken pieces into golden, crispy perfection with just a simple flour coating and a trip to the oven.
You’ll love how the seasoned flour mixture creates that satisfying crunch we all crave, while the butter keeps everything incredibly moist and flavorful underneath.
Best part is, you can easily customize the spice blend to match your family’s taste buds, whether that means adding a kick of cayenne or doubling up on the garlic powder.
Ingredients List
This shake and bake chicken needs just a handful of simple ingredients that you probably already have sitting in your pantry right now.
- 3 lbs chicken, cut into pieces
- 1/2 cup all-purpose flour
- 1 teaspoon salt
- 1 teaspoon paprika
- 1/4 teaspoon sage
- 1/4 teaspoon ground black pepper
- 1/2 cup butter
Here are a few things to keep in mind about these ingredients:
- You can swap out the butter for margarine if that’s what you have on hand, though butter definitely gives you better flavor.
- Feel free to use skinless, boneless chicken breasts if your family prefers them, just cut the cooking time in half.
- The spice blend is totally customizable – add cayenne for heat, garlic powder for extra flavor, or double the paprika if you want more color.
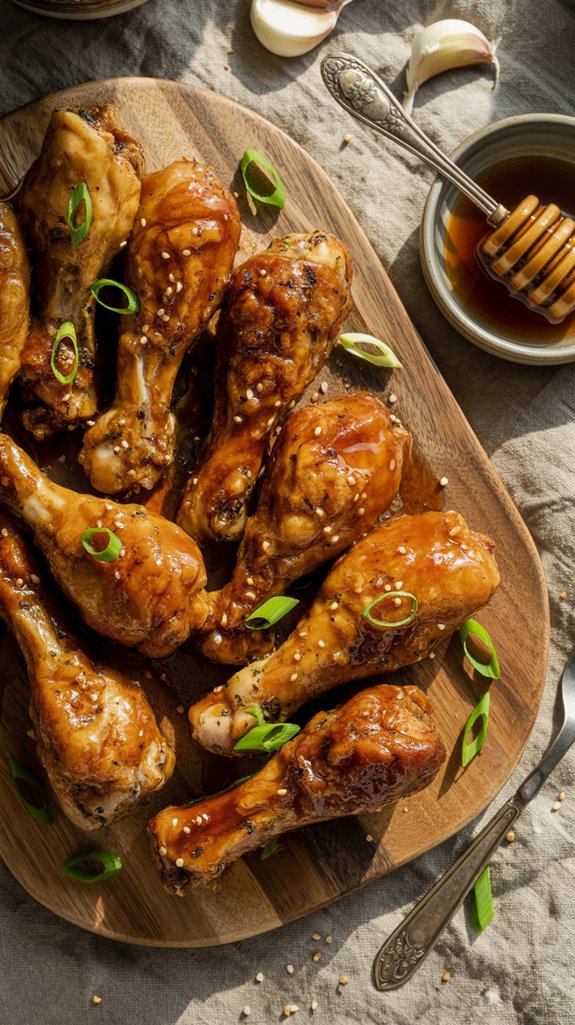
- Using bone-in, skin-on pieces gives you the most flavor and keeps the meat super juicy, but skinless works too if you want the seasonings to really soak into the meat.
Step by Step Directions
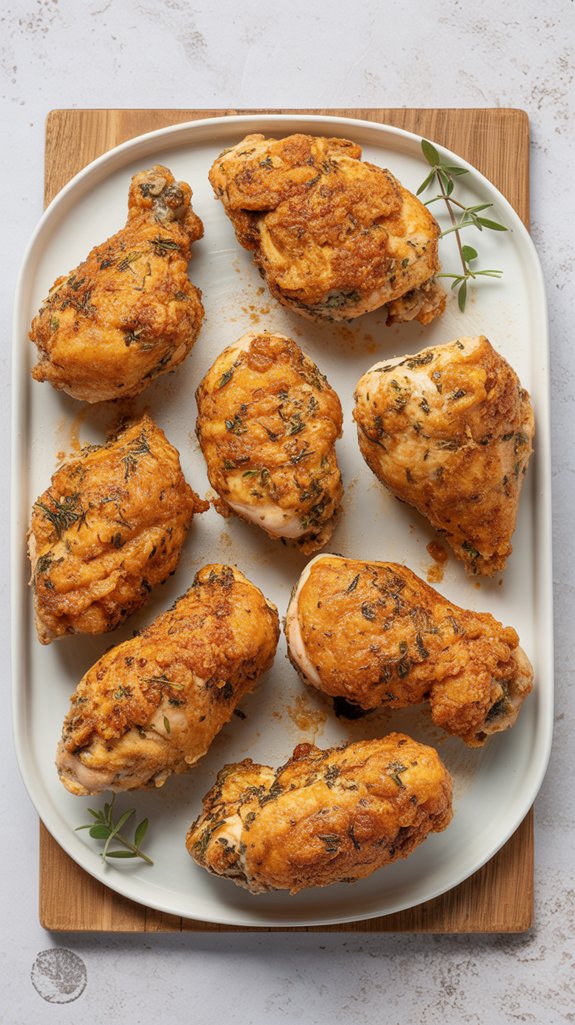
Making this shake and bake chicken is incredibly simple and requires just basic preparation and oven time.
- Preheat your oven to 450°F – This high temperature helps create that crispy, golden coating that mimics traditional fried chicken.
- Mix the coating ingredients – Combine flour, salt, paprika, sage, and ground black pepper in a large bag or bowl until well blended.
- Coat the chicken – Add chicken pieces to the bag with the flour mixture and shake vigorously until all pieces are evenly coated with seasoning.
- Prepare the baking dish – Melt butter in a 9×13 inch baking dish right in the preheated oven, which takes about 2-3 minutes.
- Arrange chicken skin-side down – Place the coated chicken pieces in the melted butter with skin side facing down for the first phase of cooking.
- Bake for 20 minutes – Let the chicken cook undisturbed to develop a golden crust on the bottom.
- Flip and finish cooking – Turn each piece over and bake for another 20 minutes until the chicken is tender and juices run clear when pierced with a fork.
- Check for doneness – Internal temperature should reach 165°F, and juices should run clear rather than pink.
For those who prefer longer, hands-off cooking methods, premium stainless slow cookers offer an excellent alternative that delivers tender, flavorful chicken with minimal preparation time.
Substitutions and Variations
- Try margarine instead of butter – If you’re watching dairy intake or just prefer the taste, margarine melts just as well and creates the same crispy bottom crust.
- Make it gluten-free – Substitute the all-purpose flour with your favorite gluten-free flour blend, though the texture might be slightly different.
- Go lighter on the butter – Cut the butter in half if you’re using boneless pieces, since they don’t need as much fat to stay moist during the shorter cooking time.
- Season the butter too – Mix a little garlic powder or herbs directly into the melted butter for an extra flavor boost that coats the bottom of each piece.
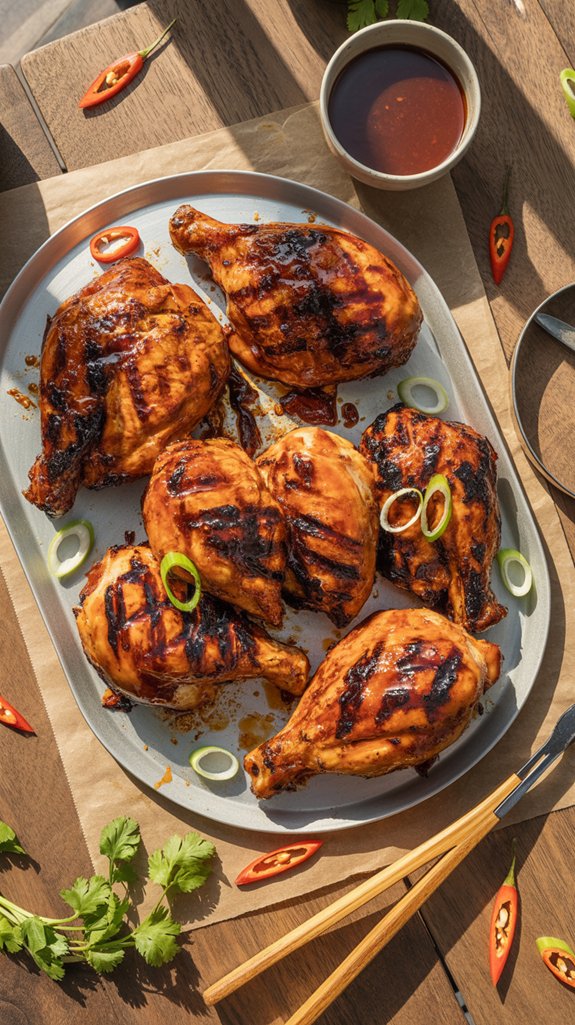
Additional Things to Serve With This Dish
This crispy, golden chicken practically begs for some classic comfort food sides to round out the meal.
- Mashed potatoes – Because to be frank, you need something creamy to soak up all that buttery goodness from the pan, and nobody ever complained about extra carbs on their plate.
- Green beans or roasted vegetables – A little color never hurt anyone, plus the fresh crunch balances out all that rich, seasoned coating perfectly.
- Biscuits or dinner rolls – More bread means more opportunities to mop up those incredible pan drippings, which would be a crime to waste.
- Coleslaw or a simple salad – Something cool and crisp cuts through the richness, though I won’t judge if you skip the greens entirely.
- Corn on the cob – Sweet corn and savory chicken are like old friends who just get each other, especially when butter is involved in both dishes.
- Mac and cheese – Yes, it’s basically carbs on carbs, but some days your soul needs that kind of comfort food hug on a plate.
Cooking Tips & Tricks (Chef’s Notes)
Getting this chicken just right is honestly easier than you think, though a few insider tricks will save you from those “why is my coating soggy” moments we’ve all had.
- Double-bag that coating process – Put your seasoned flour in one bag, shake it up good, then transfer to a second bag before adding chicken, because nobody wants clumpy flour disasters.
- Let the chicken sit for 10 minutes after coating – This gives the flour time to stick properly instead of sliding off like it’s trying to escape.
- Don’t skip melting the butter in the actual baking dish – That hot butter starts the browning process immediately and creates the most incredible crispy bottom crust.
- Flip only once, and resist peeking – I know it’s tempting to check every five minutes, but opening that oven door just lets out the heat that’s doing all the magic.
- Use a meat thermometer if you’re nervous – Internal temp should hit 165°F, which takes the guesswork out of the whole “is it done or am I about to poison everyone” anxiety.
- Save those buttery pan drippings – They make incredible gravy, or you can drizzle them over your mashed potatoes because waste not, want not.
- Room temperature chicken cooks more evenly – Pull it out of the fridge about 20 minutes before you start, though don’t leave it out so long that it becomes a food safety nightmare.
Nutritional Facts
Each serving of this shake and bake chicken (based on 6 servings) delivers a solid protein punch while keeping things relatively straightforward on the nutrition front.
- Calories: Approximately 420-450 per serving (depending on chicken cut and skin)
- Protein: 35-40 grams – excellent for muscle maintenance and keeping you satisfied
- Fat: 28-32 grams (primarily from butter and chicken skin if using skin-on pieces)
- Carbohydrates: 8-10 grams (mostly from the flour coating)
- Sodium: 480-520mg (about 20% of daily recommended intake)
- Cholesterol: 120-140mg
- Fiber: Less than 1 gram
- Sugar: Less than 1 gram
- Iron: 8-10% of daily value
- Calcium: 2-4% of daily value
- Vitamin A: 6-8% of daily value (from paprika and butter)
- Saturated Fat: 12-15 grams (about 60-75% of daily recommended limit)
Note: Nutritional values vary greatly based on chicken cut choice – boneless skinless breasts will be lower in calories and fat, while thighs and drumsticks with skin will be higher.
Using less butter or a butter substitute can reduce overall fat content.
Fun “Did You Know?”
Did you know that Shake ‘n Bake coating mix wasn’t actually invented until 1965, making our homemade version a throwback to an even older tradition of flour-coating chicken?
I find it fascinating that home cooks were shaking seasoned flour with chicken pieces in paper bags long before Kraft’s commercial product hit shelves.
The original advertising slogan “Shake ‘n Bake, and I helped!” became iconic, but honestly, making it from scratch gives you complete control over ingredients.
You’ll avoid preservatives and can customize spices to your family’s taste preferences while saving money too.